This time it's for my Wristlet pattern.
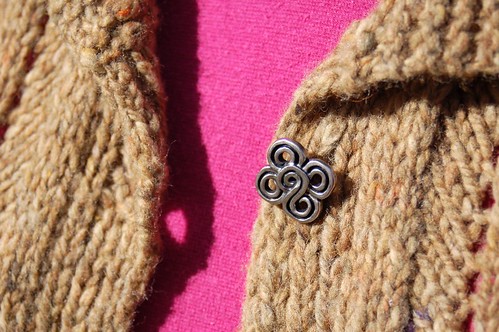
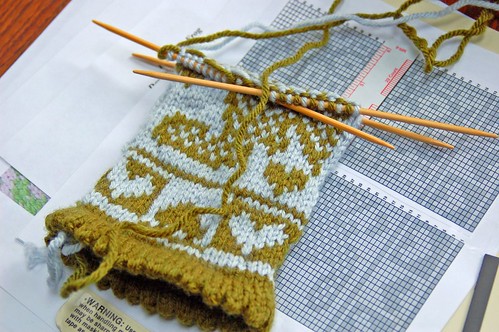
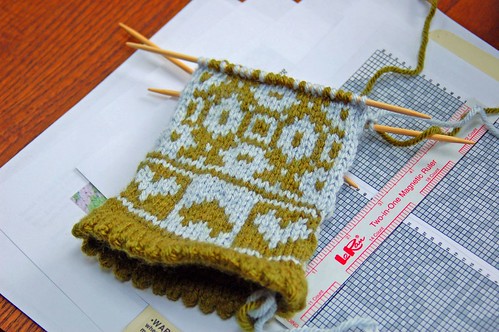
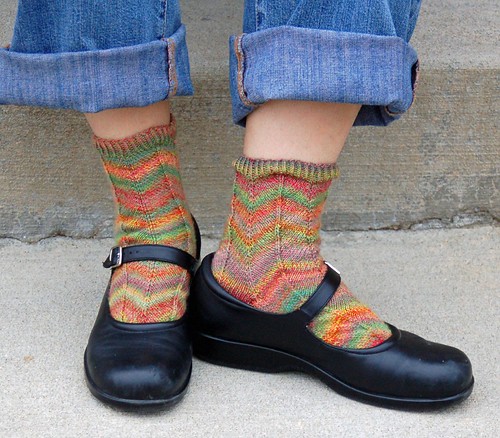
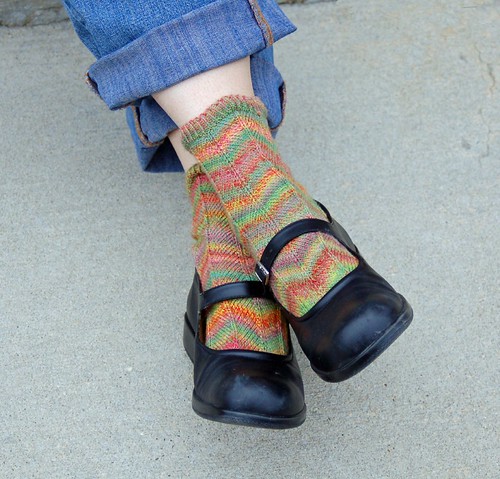
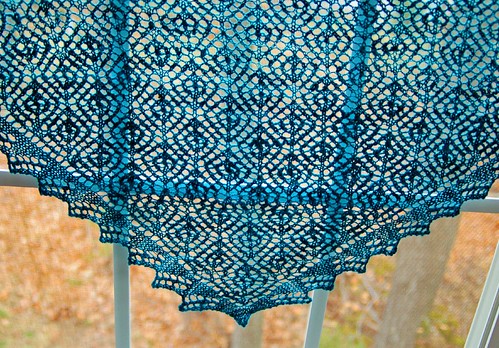
Remember these?
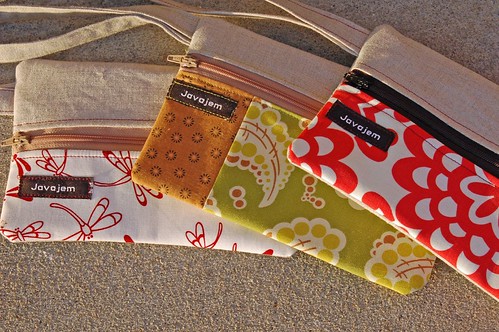
Well, now you can make one too!
Materials:
- Less than a quarter yard of linen,
- Scraps of quilting cotton in two patterns (one for the lining and one for the outside accent fabric)
- Less than a quarter yard of medium weight fusible interfacing
- Thread to match
- Cutting mat, ruler and rotary cutter
- Zipper (7 inches or larger)
- Pins and other sewing tools
Directions:
Step 1: Select and cut your fabric. I used linen for the body and strap, but you could use anything. Cut out the pieces:
-From the linen:
- Cut 2 pieces that measure 8'' by 6''
- Cut a piece for the strap that measures 22'' by 3.5''
- Cut 1 piece of cotton fabric for your outside accent piece that measures 8'' by 6''
- Cut 2 pieces of Cotton fabric for the inside lining that measure 8'' by 6''
- Cut 2 pieces of interfacing that measure 8'' by 6''
Step 2: Iron the interfacing to the inside lining pieces.
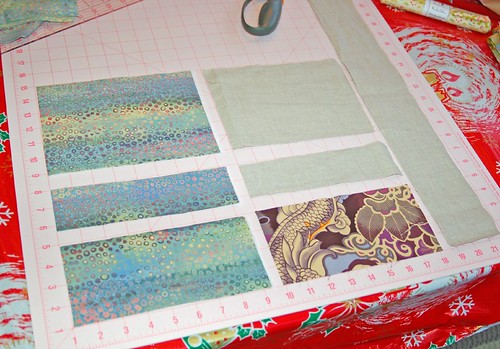
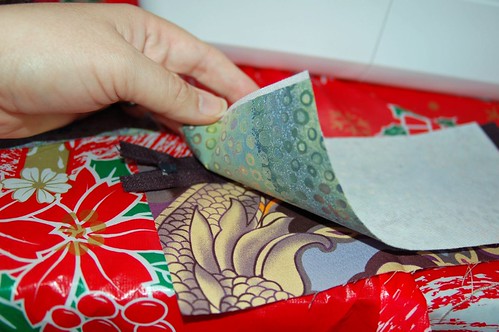
Step 3: Cut one of the inside lining pieces, the outside accent fabric and one of the linen pieces to create the opening for the zipper. Determine where you want the zipper to go - it can be anywhere. I cut my pieces 2'' from the top. (Leave at least an inch and a half on top for the seam and handle)
After cutting your pieces - your fabric should look like this:
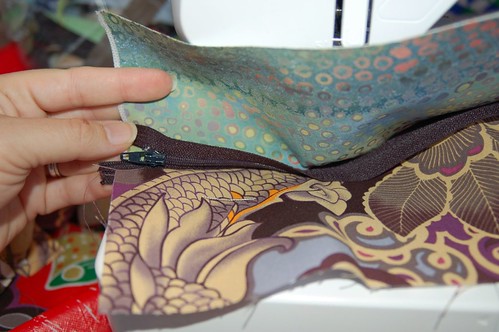
Step 4: Pin fabrics to zipper.
Starting with the pieces that will end up below the zipper, pin the inside lining and outside accent fabric pieces to zipper. Make sure to put the outside accent fabric "right side to right side" with the zipper. (The front of the zipper should go against the right side of your outside accent fabric and the back of the zipper should be up against the right side of the inside fabric.)
You are basically making a sandwich with the zipper on the inside:
Like this:
Pin in place, making sure to only pin through the top half of the zipper - otherwise it will make it harder to open and close the zipper if you pin through both sides (more on this later).
After pinning the fabric to the zipper, open the zipper about halfway before you start sewing.
Tip: The reason I open the zipper before I start to sew, is because if you leave the zipper closed, it is harder to sew next to the zipper pull. You will close the zipper after sewing halfway across.
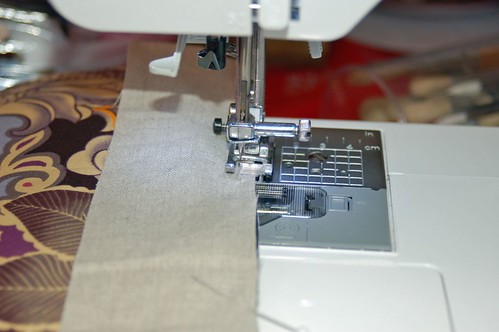
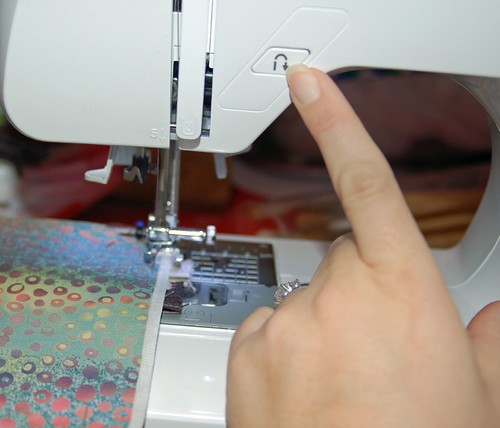
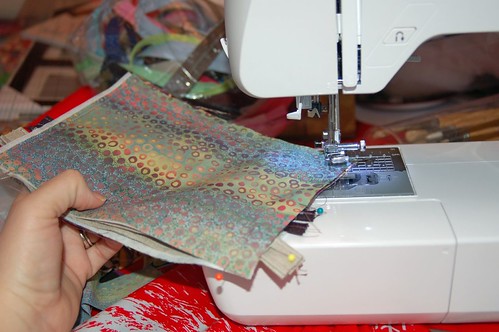
Step 5: Start to sew the zipper to the bottom inside and outside fabrics. Use a zipper foot, or about a quarter inch seam allowance. Stop before you get to the zipper pull.
When you reach the zipper pull, make sure your needle is in the down position (in the fabric) and then raise the pressure foot. Turn your work so you can see where you are, and close the zipper. Now the zipper pull won't be in your way anymore, and you finish sewing across the piece.
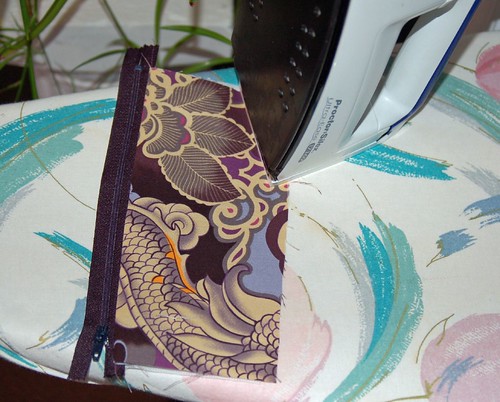
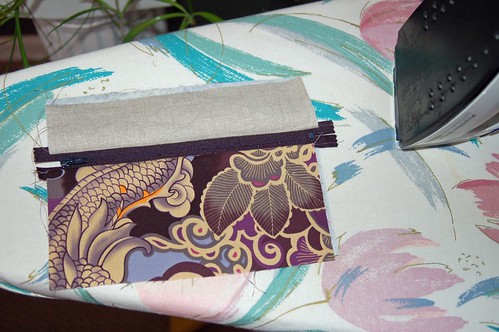
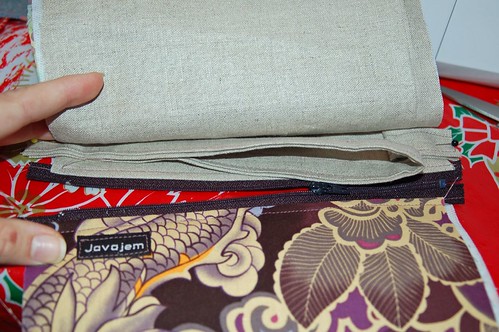
Step 6: Press.
After sewing across the piece, iron the piece so the fabrics on both sides lay flat against the zipper.
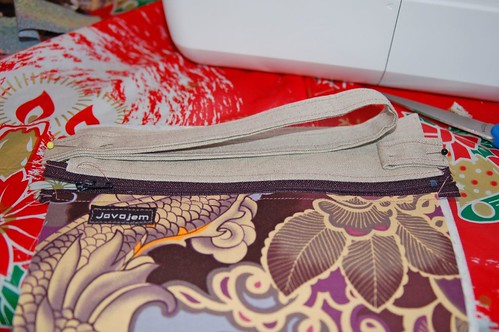
Step 7: Pin the top pieces to the zipper.
Again, make sure to put the right side of the zipper face to face with the right side of the outside accent fabric and the back of the zipper face to face with the right side of the lining fabric. Pin in place
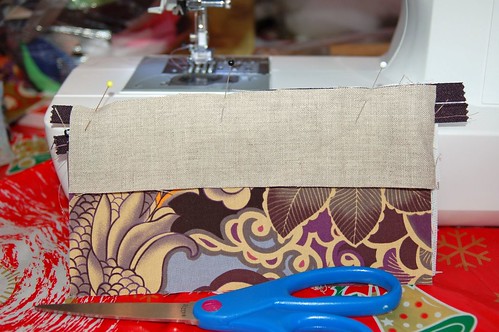
Your zipper sandwich should look like this.
Open the zipper about halfway again so you can sew more easily and not have the zipper pull in the way.
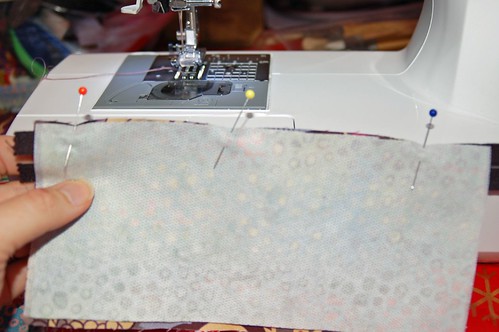
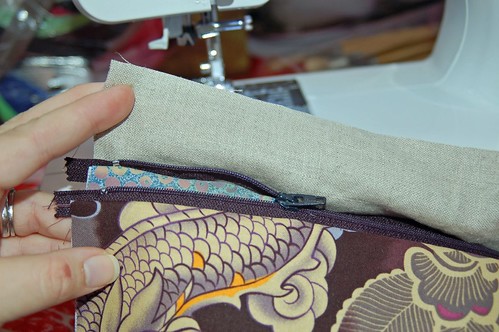
Step 8: Start to sew the zipper to the top fabrics using a zipper foot or a quarter inch seam allowance.
After sewing halfway across, make sure the needle is in the down position, raise the pressure foot, and close the zipper just as you did in step 5.
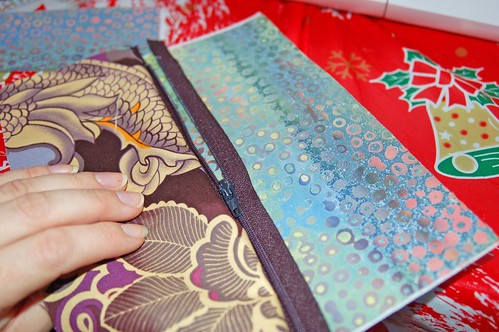
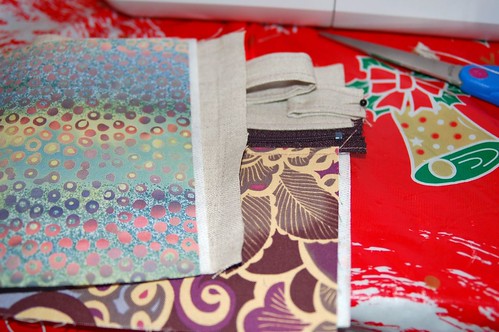
Step 9: Press.
Make sure both the top and bottom lay flat when the zipper is closed.
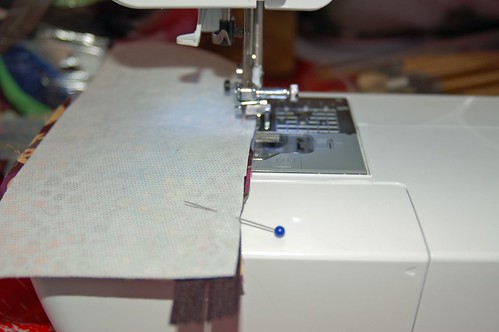
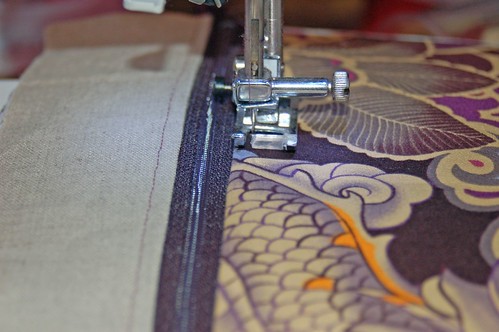
Step 10: Top stitch.
Sew across the top and bottom of your zipper using a quarter inch or an eight of an inch seam allowance.
Tip: It helps to use foot of your machine as a guide. Make sure to line up the foot to the edge of your fabric for a straight clean top stitch.
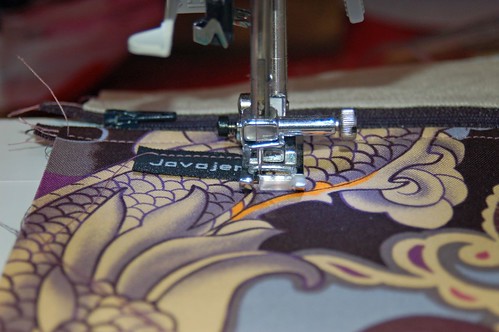
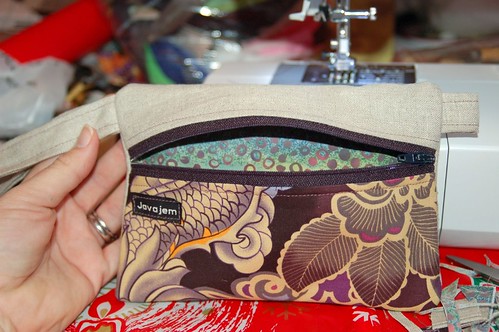
Step 11: Add your own label (if desired).
Now is the time to add any labels or logos you want to be on your wristlet. Sew around the edge (getting as close as possible to the edge while still catching the label) making sure to leave the needle down when turning the corners.
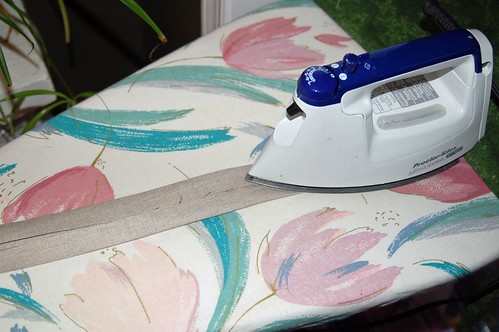
Step 12: Prepare the handle.
Fold your fabric in half legnthwise and press a middle seam. Then open the handle, and fold the two halfs into the middle seam and press again. Finally, fold the handle in half (after folding and ironing the outside edges into the middle) and press. This will create a sturdy and neat handle with all the raw edges folded into the inside.
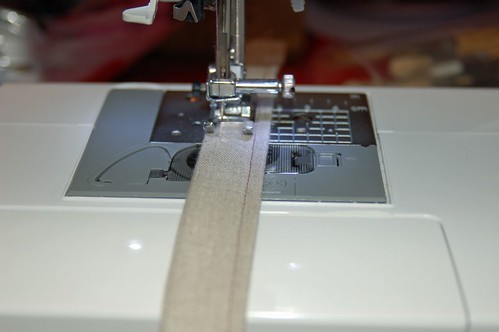
Step 13: Pin handle and sew two border seams.
Using your pressure foot as a guide, sew the legnth of the handle with a quarter inch or an eight of an inch seam allowance on both sides of the handle.
Step 14: Cut about a two inch piece from the end of your handle. This will act as a pull to assist in the opening and closing of the zipper.
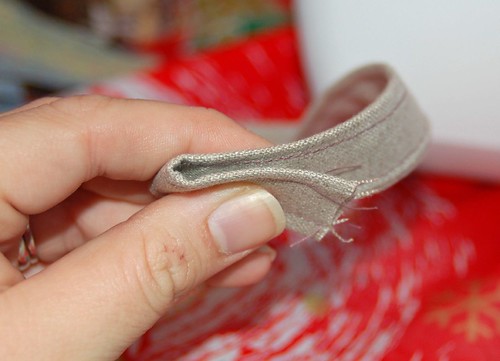
You should now have two pieces - one long piece for the handle and one small piece for the pull:
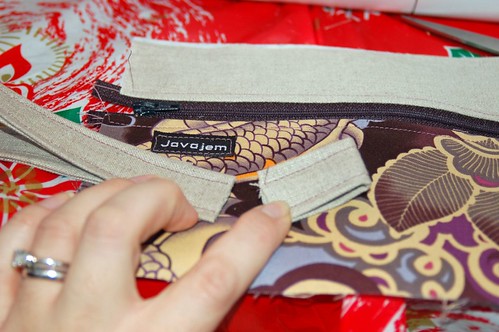
Step 15: Fold the handle and pull pieces in half and pin them to your fabric above the zipper.
Make sure the handle and pull are on the inside (you are about to make another fabric sandwich)
Step 16: Make the fabric sandwich.
Layer your pieces as follows:
- The bottom layer should be your fabric with the zipper - right side up.
- Next, add the linen right side down (or the piece of fabric that you want to be the back of the outside of your wristlet)
- The last layer is the lining fabric right side up.
Check to make sure your handle is in the inside of this sandwich.
Step 17: Open the zipper - otherwise you will have a hard time opening the finished piece after you have sewn all the sides.
Step 18: Pin the pieces together.

Step 19: Sew all around the outside.
To reinforce the handle and the pull, sew backwards and forwards over them a few times for extra strength. Be careful when sewing over the zipper, and when sewing over the handle. The fabric is very thick! Go slowly!
Tip: For neat corners, remember to turn your work with the needle in the down position.
Tip: To make sure you don't accidentally sew through your handle, you can pull it through the zipper opening.

Step 20: Trim the corners.
When you are finished sewing, trim the excess fabric from the corners and the outside edges, being careful not to cut through your seams.

Step 21: Turn your wristlet right side out through the zipper.
Iron one more time to press out any bulk.
Step 22: Enjoy your new wristlet!
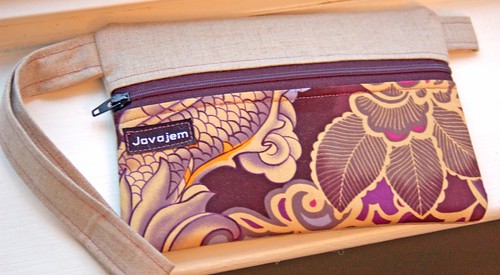
I hope you try to make one too - and definitely write and let me know if you make one. I'd love to see the finished product!
Have a great weekend!
** Updated**
Many people have asked where I got the labels. I got them from namemaker.com