
I have lots of scraps left over from my recent holiday crafting adventures and I hate to throw things away - especially fabric! So I decided to use some of it for a new project. I call it the Scrap Scarf.
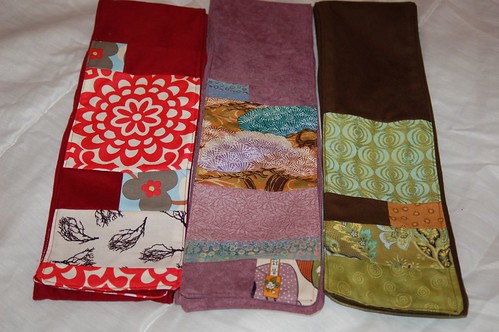
It's a great way to use up leftover fabrics AND make a quick handmade gift. I enjoyed making these so much, I decided to write up a tutorial to share with you.
So here it is...
The Scrap Scarf
by Jody Scofield
Materials Needed:
- 1 yard of faux suede or fleece
- Scraps (3-4 different cotton fabrics)
- Cutting mat, ruler and rotary tool
- Sissors
- Seam Ripper
- Thread to match your main fabric
- Iron
- Sewing machine
1. Start by selecting your fabric
I used scraps for my first two, but then decided to dig into my stash for my latest one.
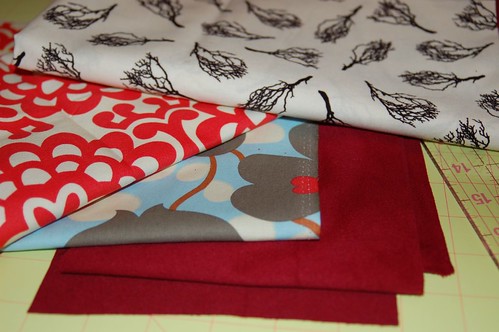
You will need a yard of a faux suede or light fleece for the body of the scarf, and some scraps or small amounts of cotton for the patchwork accents on the ends.
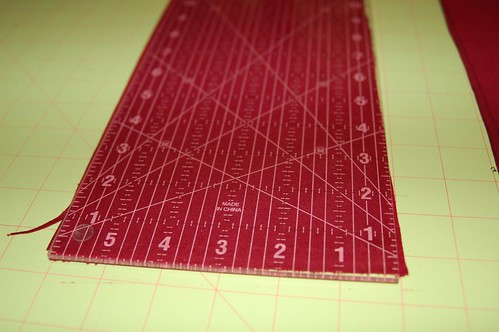
2. Cut your fabrics
You are only going to cut one piece of the body fabric at this time. (We will cut the second piece later.) Fold the main body fabric selvage to selvage, and using your rotary cutter, cut one long piece 6 inches wide (the size of most quilting rulers) by 36 inches long (one yard). I found that by folding the fabric in half, it is easier to manage the length.
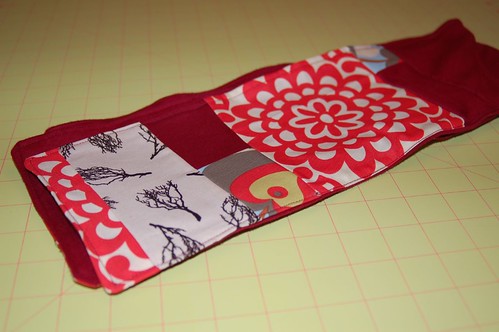
Next cut your accent fabrics. Make sure each piece is 6 inches wide. The height is up to you. You can let the pattern on your fabric be your guide as I did here with this piece of Amy Butler fabric. I also cut some strips of the body fabric to use in the patchwork section to help blend it all together. You can cut the body fabric directly from the end of your 36 inch strip (because you won't need it all).
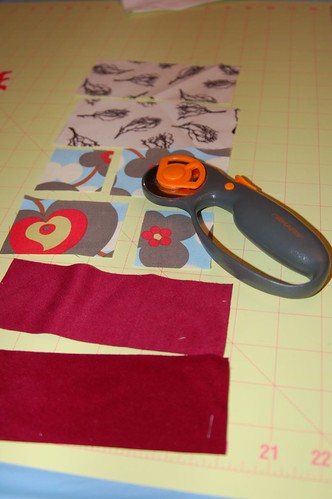
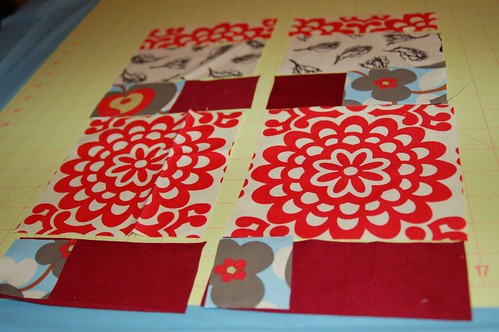
3. Plan your layout
Arrange the pieces you want to use for the ends. They don't have to be symmetrical - you can change your layouts slightly on each side for added interest.
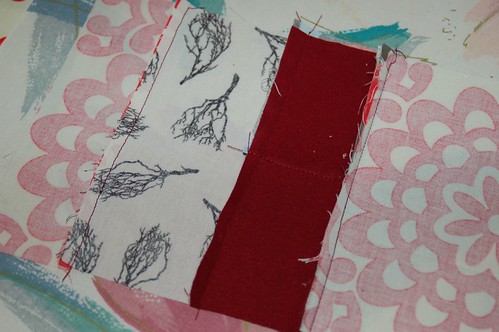
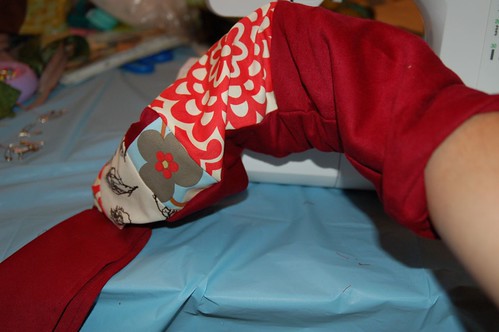
4. Now it's time to sew!
Sew the pieces together (right sides are always together) using a quarter inch seam. Most sewing machines have a presser foot that is about a quarter inch that you can use as a giude.

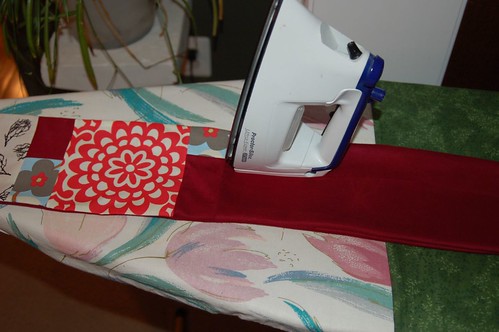
5. Press
Once all the pieces are sewn together - go to the ironing board and press your seams. Pressing makes all the difference - it really makes the end result much more professional looking.
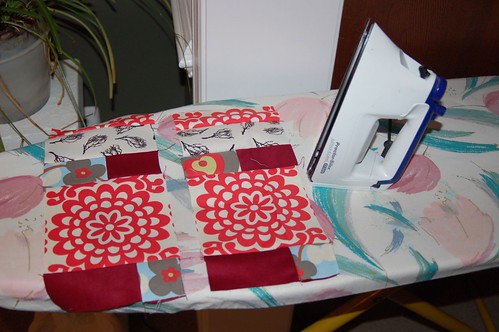
Try to get all the seams to lay flat - I usually press them all in the same direction.
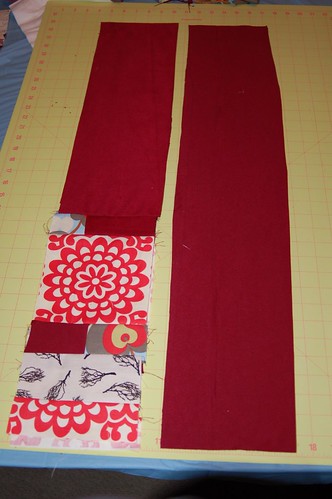
6. Cut the last pieces of body fabric
Now that you know how long your patchwork ends are going to be, you can cut the second strip of body fabric. Cut two more 6 inch by 36 inch strips. Lay out your first piece of body fabric with your finished patchwork ends. Measure how long the combined piece is (patchwork and body fabric) and if needed, cut the first piece of body fabric so the entire piece (patchwork ends + body fabric) will measure 36 inches.
7. Sew the body and patchwork edges.
Sew the two 36 inch strips of body fabric together (right sides facing) to create one long piece (6 inches by 72 inches).
Next, sew the patchwork ends to the remaining strip of body fabric.

8. Join front and back
Now you will sew the two body pieces together using a quarter inch seam - right sides facing. Make sure to leave a gap at one end to turn the scarf right side out again.
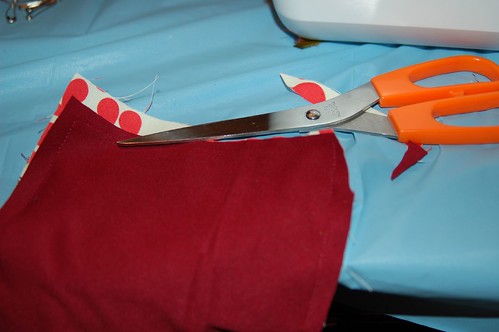
9. Trim
After you have sewn all the way around, trim the corners and any excess fabric from around the edges. This will help reduce lumps when you turn the scarf right side out.
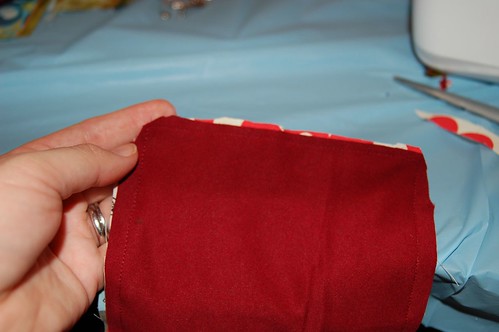
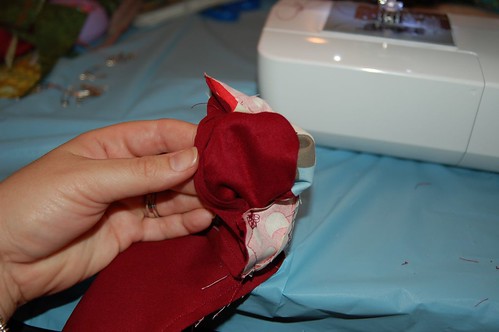
10. Turn your piece right side out
11. Press
Iron your scarf again after turning it right side out. It will make top stitching so much easier!
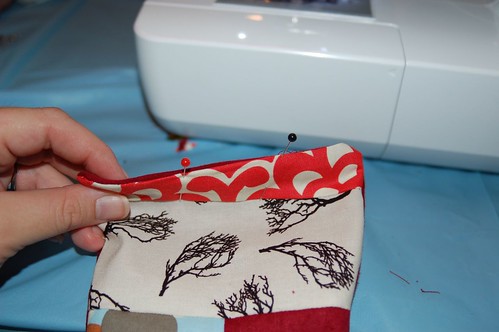
12. Top stitch
After it's pressed, fold the edges in where you turned the scarf rightside out and pin them in place.
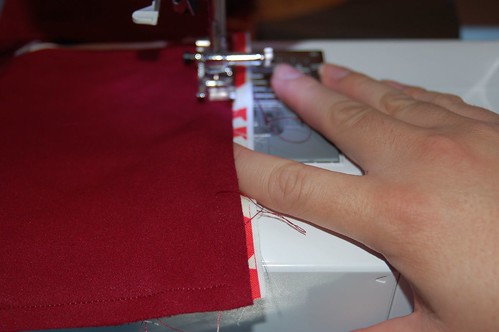
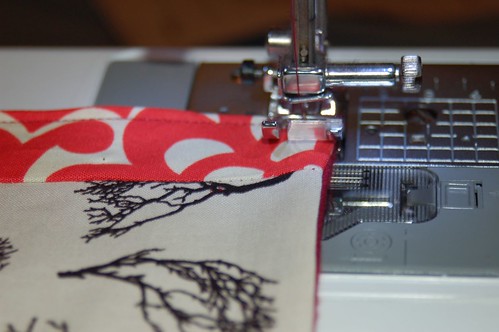
Top stitch all the way around your scarf using an eight of an inch to a quarter inch seam being careful to close your gap as you sew.

One technique that helps you achieve neat corners is to stop sewing about a quarter inch from an end, keep the needle in the fabric and raise your presser foot. Rotate the fabric 90 degrees while the needle in still in the fabric. Put the presser foot back down and you have now turned a perfect right angle.
After top stitching around your scarf, iron again if desired and you're done!
***************
I hope you liked my little tutorial.
Please let me know if you try to make one - I'd love to see what you come up with!
29 comments:
They look lovely!
That's adorable! What a neat idea!
love the fabrics you chose.
good tutorial.
=)
Great tutorial! Love the scarves - a great idea!!!!
What a great idea! What a beautiful scarf!!
These are so fun! Great quick gift idea! :)
Fab tutorial! I may try to fit one in before xmas for my mom.
I love them!! Excellent way to use up scraps and try new fabrics! :)
way cool sister!
I don't sew, but i'm always amazed at your creativity. That's a great idea! Pretty and totally unique.
Merry Christmas to you and J.
I love this scarf. I have a couple of questions, so you might be talking me through it. I am so going to make a couple.
This is a really great tutorial. Thanks for providing it!
Thank you! great tutorial!
I found your tutorial via Craftzine and came over to see it. It's wonderful and I love what the end result turns out to be. Thank you so much for sharing this--I'm going to give it a try myself.
Hi, I just found your tutorial from whipup. It's great! I want to go make one right now, but don't understand why the front piece is twice as long as the back piece. Could you explain?
Thanks
Thank you for the tutorial! I am SO going to make some of these!
How long do you think you would need to make the scarf for a 2 or 3 year old? I'd like to make matching ones for a friend and her little girl.
I love it, I will try to make one myself :-)
These are so cute! I am looking to make gifts for all of my friends and this could be the prefect idea.
Very Nice Idea!
I think I will use some of my sraps for it!
Great tutorial, I can't wait to try making one!
Cute scarf....
Great tutorial
Thank you for sharing
I hope your day has been beautiful
I just posted on my blog about the scarf that I created (for a swap)using your tutorial. I had so much fun creating my scarf, I plan to make more. :-)
I have linked back to your blog.....I hope that is okay.
Again, thanks for sharing this with us.
Hope you have had a beautiful day
Woops....Here is the link to my blog. :-)
http://robinsbluenest.typepad.com/robins_nest_blue/2009/09/scrap-scarf-swapping.html
Such a neat idea for scraps. I think i am going to give this project a go, with fleece scraps.
Heather
http://nightdreamer_371.bravejournal.com
This is such a wonderful idea, and your tutorial is very clear. Thanks so much!
P.S. I blogged about your scrap scarf (http://thezombiecrafter.blogspot.com/2010/07/patchwork-scrap-scarf.html)
Thank You for Sharing your Super Helpful Tutorial.
I was inspired, so I made one too.
http://sewfriendzied.blogspot.com/
Looking forward to making more!
The scraps are great ! Thanks for the great tutorial I'm going to give it a go this year for Christmas !
I loved your tutorial. We will be featuring you on our blog ziggycrafts.blogspot.com This is great!
Post a Comment