Tuesday, October 16, 2012

A day at the pumpkin patch!

We went to a local pumpkin patch on Saturday - Larriland.  My little peanut loved it! 

First thing we did was go on a hayride!

Untitled

My friend Coleen made a pumpkin hat for the girl.  She didn't keep it on long, but I managed to get a few pictures of her modeling it!

Untitled

Her favorite part of the ride was covering herself (and us) in hay!

Untitled

There were tons of pumpkins everywhere!  I had to add my own little pumpkin girl to the mix:

Untitled

We ran into some friends there too! 

Untitled

She loved the giant pumpkins!

Untitled

But we couldn't just pick a pumpkin from the bins - of course we had to go to the fields and get our own!

Untitled

There were acres and acres of pumpkins!

Untitled

Untitled

Untitled

Untitled

Untitled

Untitled

She even got to pick her very own pumpkin!

Untitled

It was a great day!

Sunday, October 14, 2012

Quilted coasters

A dear friend of mine turned 40 this past week and I wanted to make her something special.  Unfortunately when you have a busy toddler - making something special can be a bit of a timing issue. 

So I went for quick and pretty!  I hope she thinks they are special :)

Untitled

I was inspired by these pretty green coasters from Homemade Ginger.

My friend loves Asian inspired fabrics - so I chose this lovely Alexander Henry fabric from the stash.

The tutorial was easy to follow and they came out great!

Untitled

One of my favorites is the one with this white crane:

Untitled

 I also love the one with the geisha girl:

Untitled

 All they needed was a little bow and they were perfect for my friend.

Untitled

 I think I will be making more for Christmas gifts!


Thursday, September 13, 2012

Baby Leggings Tutorial

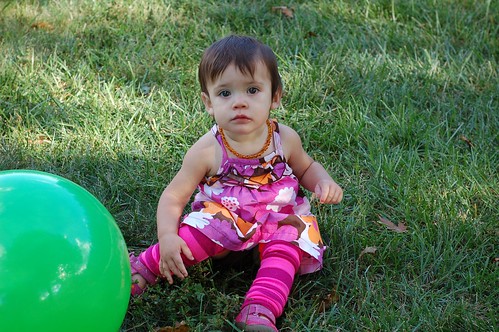
Fall is coming soon and I'm not ready to give up putting dresses on my little girl!  The solution?  Baby leggings!

Untitled

These cute leggings are so easy to make you won't believe it.  I've seen a few different ways to make these on the internet but here is how I did it.

Materials:
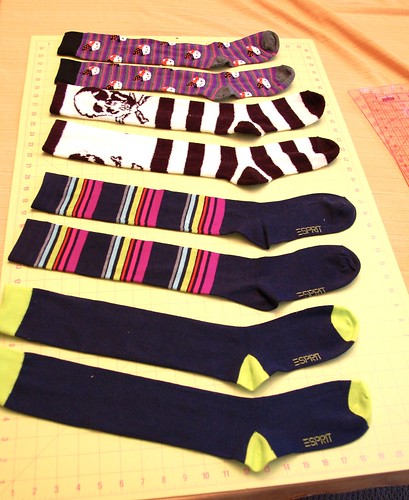
  • 1 pair of women's knee high socks
  • scissors
  • sewing thread 
I found some cute socks at Target that were on sale for $2.50 - so I grabbed a bunch and headed to my sewing table.  I just love the Halloween ones!

Untitled

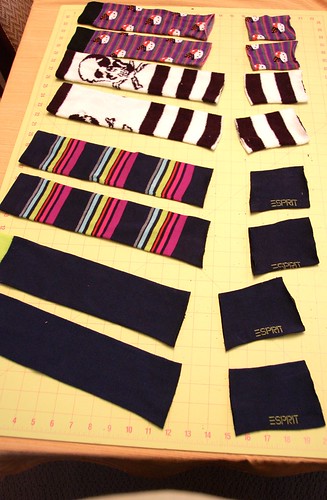
Cut above the toe, and above and below the heel:

Untitled

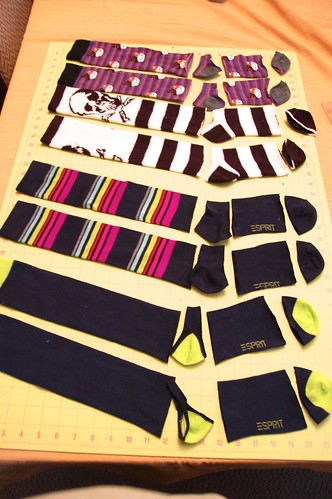
You can discard the toe and heel and keep the other parts to make your leggings.

Untitled

Take the foot piece and fold the tube in half with the outside fabric on the outside.

Untitled

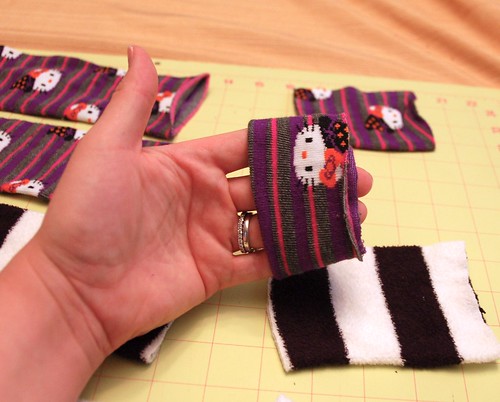
Put the top piece of the sock inside the foot piece that you folded in half.  All the raw edges should be together at the end.  Pin them in place. 

Untitled

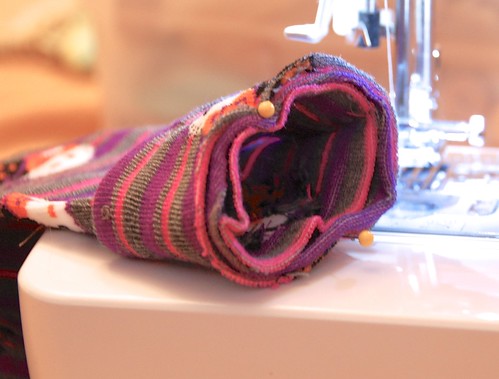
Now you're ready to sew!  Take the sock to the sewing machine and put the needle on the inside of the sock.  This is easier than sewing on the outside because you have less of a chance of catching the other side of the sock when you stitch around.  Be careful not to pull on the fabric while sewing, otherwise it will get stretched out.

Untitled

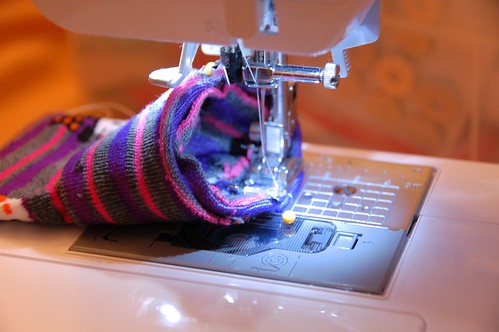
After sewing all the way around, trim the threads and flip the cuff down.  You have a baby legging!  Repeat for legging number two.

Untitled

Untitled

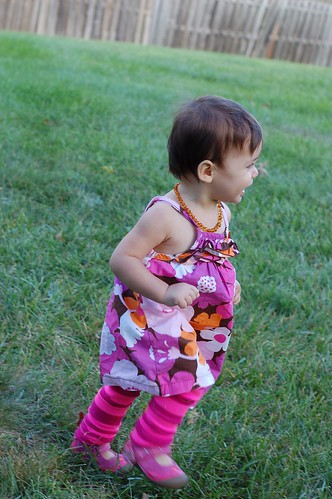
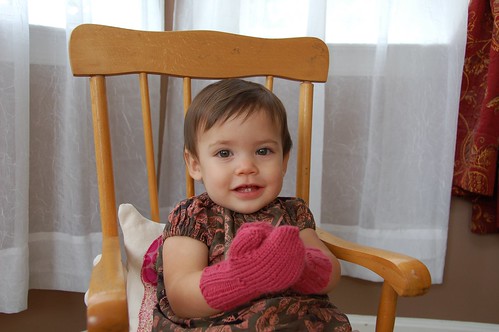
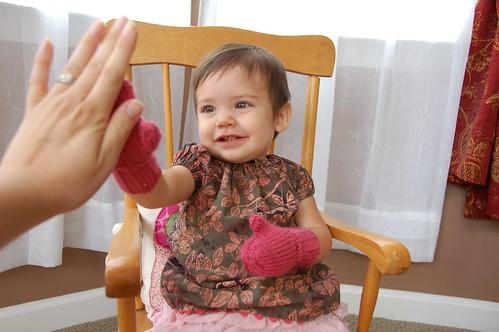
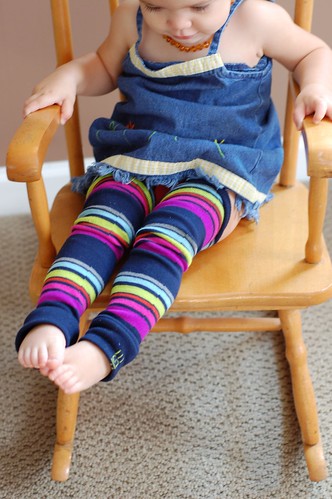
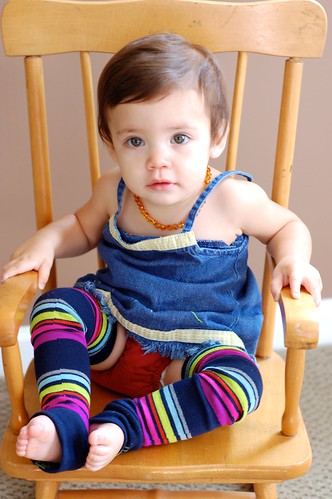
Now you are ready to put them on a baby!

Untitled

Untitled

Untitled

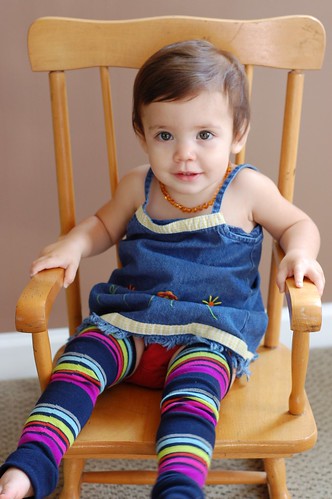
Then go make some more!

Untitled

 Untitled

Untitled


Saturday, August 25, 2012

Mittens for Amelia!

I finished a pair of mittens for Amelia yesterday!  I know it's still summer, but I wanted to start now because with my track record for knitting lately - I didn't know if I'd finish them before snow set it!  It only took me about a month though I'm happy to say.

Even though it took me a month, I think I only got to knit on them about 4 days total. Life with a toddler isn't very knit friendly so they mostly sat and waited for me to have an evening off!

Mittens for Amelia

Stats:

Pattern: Mittens for a 1 year old by by Kerry Higgins Wendt
Yarn: Debbie Bliss Baby Cashmerino
Needles: Size 5
Mods: I didn't use smaller needles for the cuff and knit the whole thing on 5s.  I made the cuff a bit longer too and they came out to be about 3 inches total.

I was a bit worried about them fitting over her hands because the cuff came out a bit tight.  If I make them again - I think I'll add a few more stitches.  But overall - I'm pleased with how they turned out!

I think Amelia likes them too:

Mittens for Amelia

Mittens for Amelia

Mittens for Amelia

Mittens for Amelia

Mittens for Amelia

Mittens for Amelia

Monday, August 20, 2012

Bird is the word!

I've been getting the painting bug lately.  I used to paint all the time, but then other crafty hobbies took its place over the years.  I am glad that painting made it's way back in!

Here are some birds I painted the other day:

Untitled

 I just had to do an Amelia bird - it had been mingling around in my head for a while asking to come out.

Untitled

This bluebird is also a favorite:

Untitled

I can't wait to get these cut, framed and hung up!


Friday, August 17, 2012

Cooking Filipino Lumpias

We had a traditional Filipino dinner tonight of Lumpias.

Untitled


My husband's mom is from the Philippines and the last time we visited her I watched her making them and vowed that I would make them for Amelia when she was old enough to try them. Her recipe was not really based on measuring anything (as most authentic recipes seem to be!) but I at least got the ingredients right even if I guessed on the amounts!

 Ingredients (approximate amounts - I did not measure):
  • About10 fingerling potatoes 
  • 1 pound ground veal, pork and beef mixture 
  • 1/2 cup minced onion 
  • 1/2 minced carrots 
  • salt and pepper to taste 
  • 1 package lumpia or egg roll wrappers (I used a package of 60 won ton wrappers)
  • vegetable oil for frying
  • 1 egg
  • rice wine vinegar
Prep: I used my Cuisinart Mini prep to chop up the carrots and onions and potatoes.  If you don't have a food processor - use a grater.  I added the ground meat, salt and pepper and then used my hands to mix it.


 Untitled

Separate the wrappers and add a small scoop of the meat mixture inside each one:

Untitled

Use about a tablespoon of rice wine vinegar and the egg whites from one egg to make the "glue" that holds your wrappers together.  Use your finger (or a pastry brush) to dab on the vinegar and egg white mix on one edge of the wrapper and roll it up like a burrito.

Untitled


After making your lumpias, you are ready for frying.  Use about a cup of vegetable oil and heat it up to 365 degrees F (185 degrees C).  Use a candy thermometer to make sure your oil is the right temperature.

Untitled

In small batches - carefully drop the lumpias into the heated oil and cook for about 1-2 minutes on each side, until golden brown.  Drain on paper towels. 

Untitled

* One thing my mother in law always does is freeze some of them uncooked for later - because this makes a LOT!  So I made about half and put the rest in a Tupperware container for later.  Then you can have a few whenever the mood strikes you!

After frying up your lumpias - pick your favorite dipping sauce and enjoy!  We used Sweet and sour sauce and a sweet chili sauce:

Untitled

Untitled

In case you were wondering - Amelia loved them!

Untitled

Especially the sweet and sour sauce!

Untitled


Untitled

Untitled