
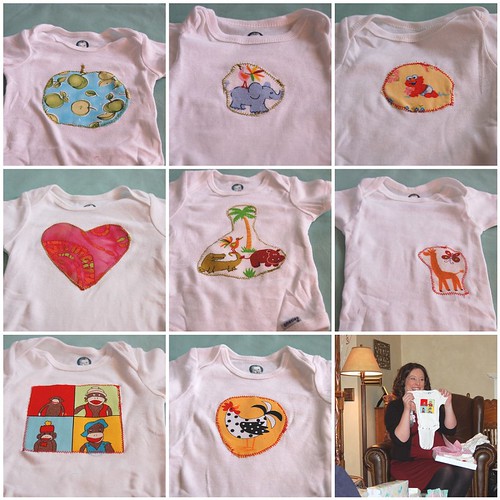
There were definitely a hit! I highly recommend making these for a quick and inexpensive handmade gift!
All you need is:
- Onesies
- Cute baby appropriate fabric
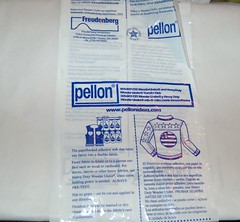
- Iron-on tear away stabalizer like Pellon Wonder Under Fusible Web
Directions:
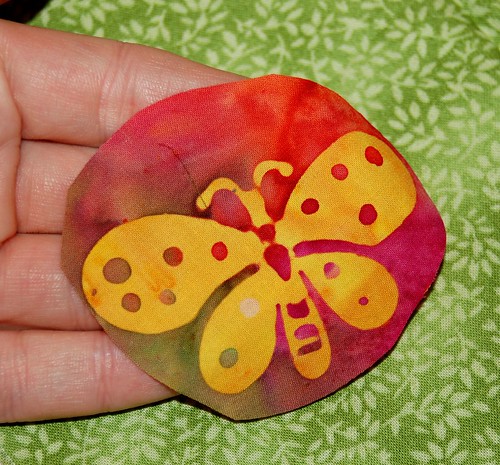
1. Cut out your fabric
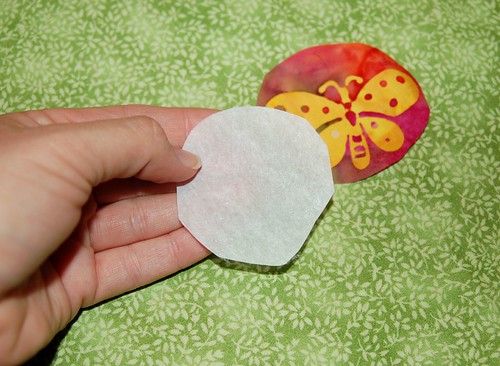
2. Cut out your stabilizer to the same shape as your fabric. I usually cut this a bit smaller than the fabric - otherwise the sticky stuff will get on your iron... ask me how I know this :)
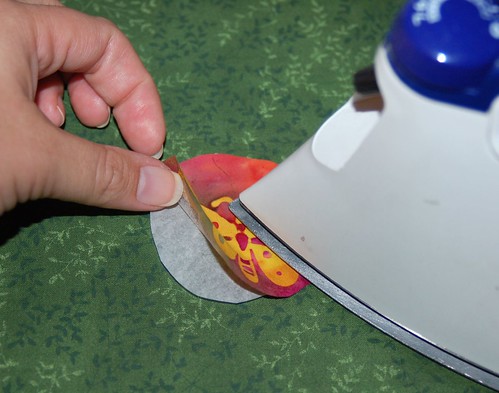
3. With the paper side of stabilizer down and fusible side up - place your fabric face up and iron them together.
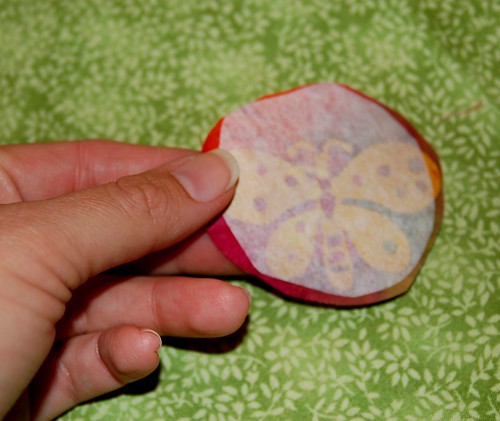
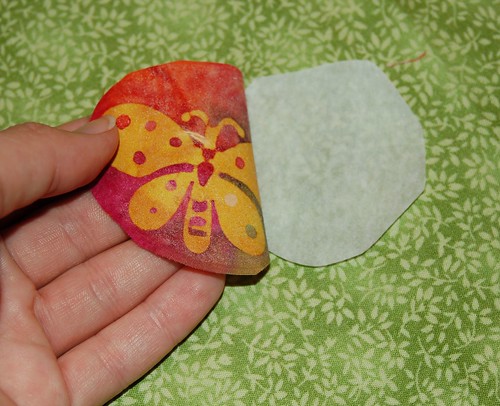
4. Peel off the paper backing - leaving the sticky fusible part attached to your fabric.
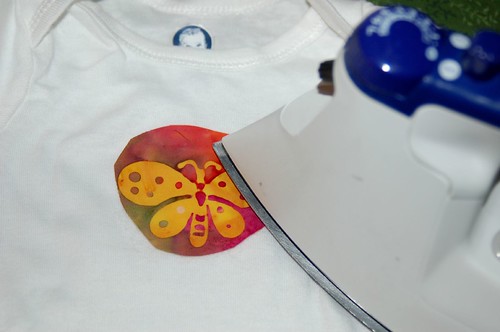
5. Place the fabric with the sticky stablizer on the onsie and iron it down. This helps keep the fabric from shifting when you sew on the decorative border.
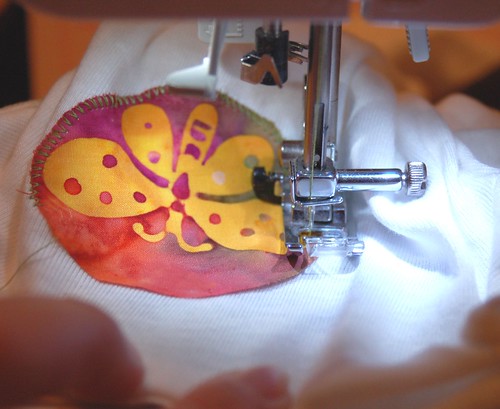
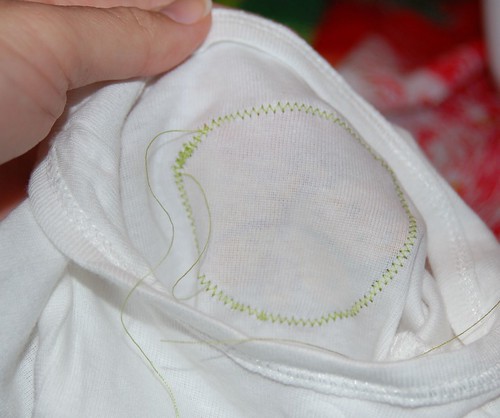
6. Pick a complimentory thread, and using a zigzag stitch, sew around the border of the fabric. Make sure you catch at least one side of the zigzag stitch in the fabric. Be careful to sew only on the front of the onsie! (It's easy to accidentally catch the other side!)
7. Once you make it all the way around, backstitch for a few stitches to secure and then trim the excess thread on the inside and outside of the onsie.
And you're done!
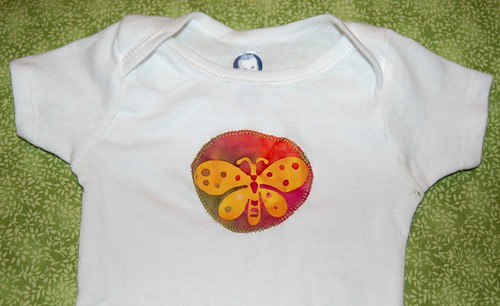
I'm sure a baby near you will love their new outfit!!
19 comments:
so cute!! What a great idea :)
So cute - what a great idea!!
Marvelous! I might give it a try hand-sewing a decorative border -- it's fun to experiment with stitches, and I'm less likely to sew through the other side that way.
Awwwww! Highly cute!
Now YOU KNOW I'll be expecting some of these for our little addition.
Or maybe you and mom can teach me how to actually sew someday. Mom always set up the machine for me and I was pretty hopeless even with her help...but you make it look so easy.
Joanie
Clever girl!!! What an inexpensive, unique designer item that will be so much appreciated by new moms ... thanks for the tutuorial!
LOVE THEM ALL!!
May I offer a few helpful hints from an experienced quilter? 1. Try the "Steam a Seam Lite" in the light green packaging. It's more flexible and is a little "sticky" so it's easier to place. 2. Stick the stabilizer on the fabric, a little bigger than the piece you want to cut out (so nickle-sized icon gets quarter-sized fusible glued to the back) then cut out what you want to cut out. This keeps the stabilizer the whole way to the edge of the thing you want to applique and you don't have to be quite so accurate with your sewing. You're doing great, though! Keep it up! :)
That is a great idea! I've tried using inkjet iron-on transfer paper, but I don't like the look or the texture on the stretchy onesie fabric. Thanks, Jody!
what a cute idea!!!
Thanks for the idea! :) I sent it to my friend who loves to sew.
SO cute!! I'm totally making some of those for Seth for next summer!
awesome tutorial, jody! this looks like so much fun - those onesies are adorable!
What a fun idea, I have a new grandchild coming in April. I think I'll make some as some as we find out what it is!!
That's such a great idea!
now how cute are those?!?!?!
They are very cool!
I've done some like that for my kidlet, and she always gets compliments on them. It's so nice to give them something personal.
What a cute idea!! You are so talented!
What a wonderful idea!! Thanks for sharing the process. Love the photos too.
Post a Comment